-
Introduction
In this section you will learn about the strategy we have followed to teach our students programming in a simple and fun way. Learning to code can be a motivating activity.
-
The DEMETER I language
In this section you will learn about the basic structures of our programming language. We call this set of instructions DEMETER I.
-
The DEMETER II language
In this section you will learn about the evolution of the initial DEMETER I instruction set. We will call the full language DEMETER II. In addition to having new instructions, the minefields have new elements that increase the difficulty.
The DEMETER website
The DEMETER interpreter is on the following web page:
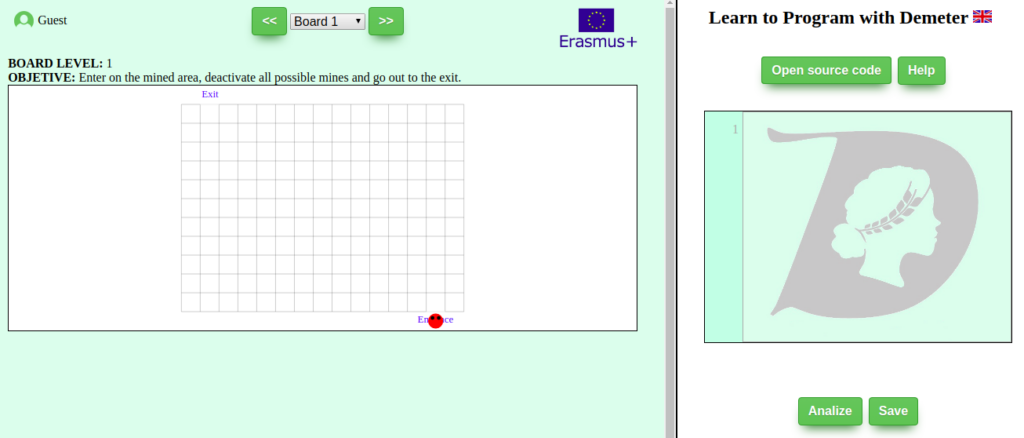
If you access this web page you will find the DEMETER interpreter:

In this lesson we will show you how this web page works:
Change language
![]()
By clicking on the flag you can change the webpage language. You can set the language to English, French or Spanish if you wish.
Board election

The dashboard browser allows you to change the exercise. The exercises gradually increase the complexity.
Identification
![]()
You can use the page anonymously or by creating a user.
Coding area
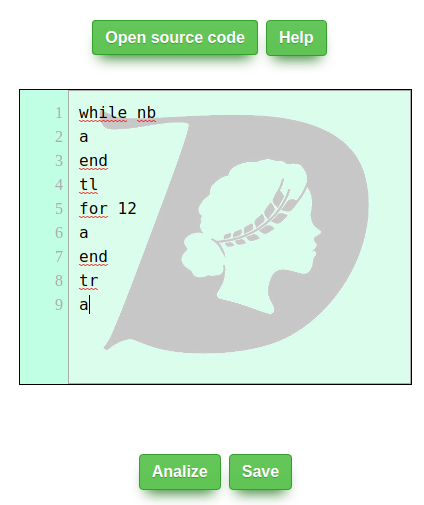
In this area you can import a file with code, analyze it and save it.

To run a program you first have to analyze it (analyze button). Once analyzed, click on “start simulation” and the simulation area will be activated.
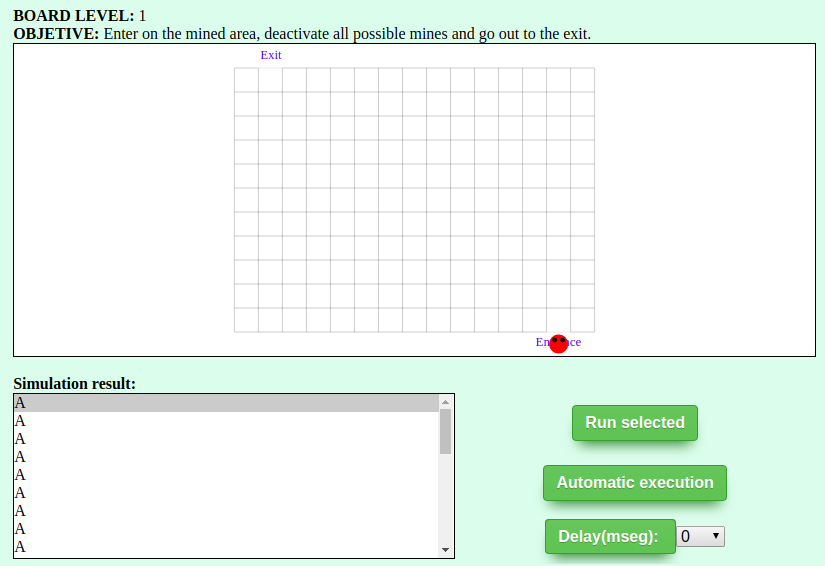
Simulation zone

There are three modes of execution:
- Run selected. It will execute only a selected instruction.
- Automatic execution. It will execute all the generated instructions.
- Delay (msec). Similar option to the previous one but includes a delay in between movements which it allows to see the movement of the rover.
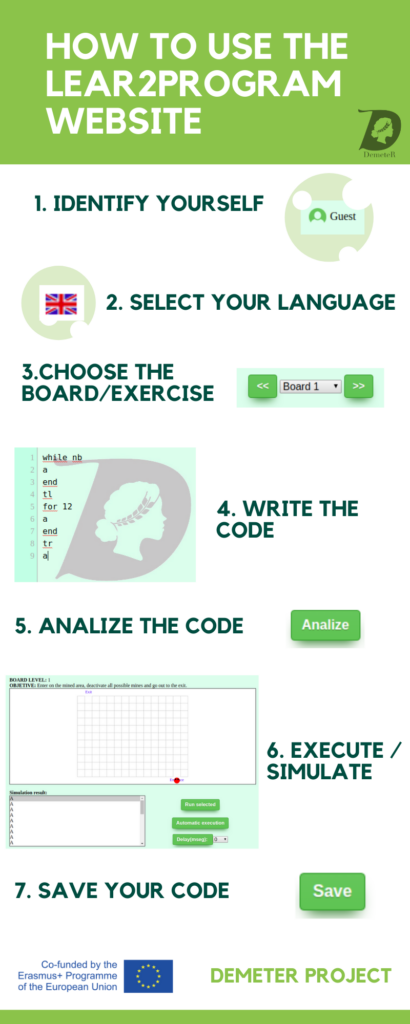
In the next picture you will find a summary of all the steps to create and execute a DEMETER program.

