-
1 Introduction
-
2 Theoretical concepts
-
3 The printing process
-
4 Arm assembly and electronics
The firmware
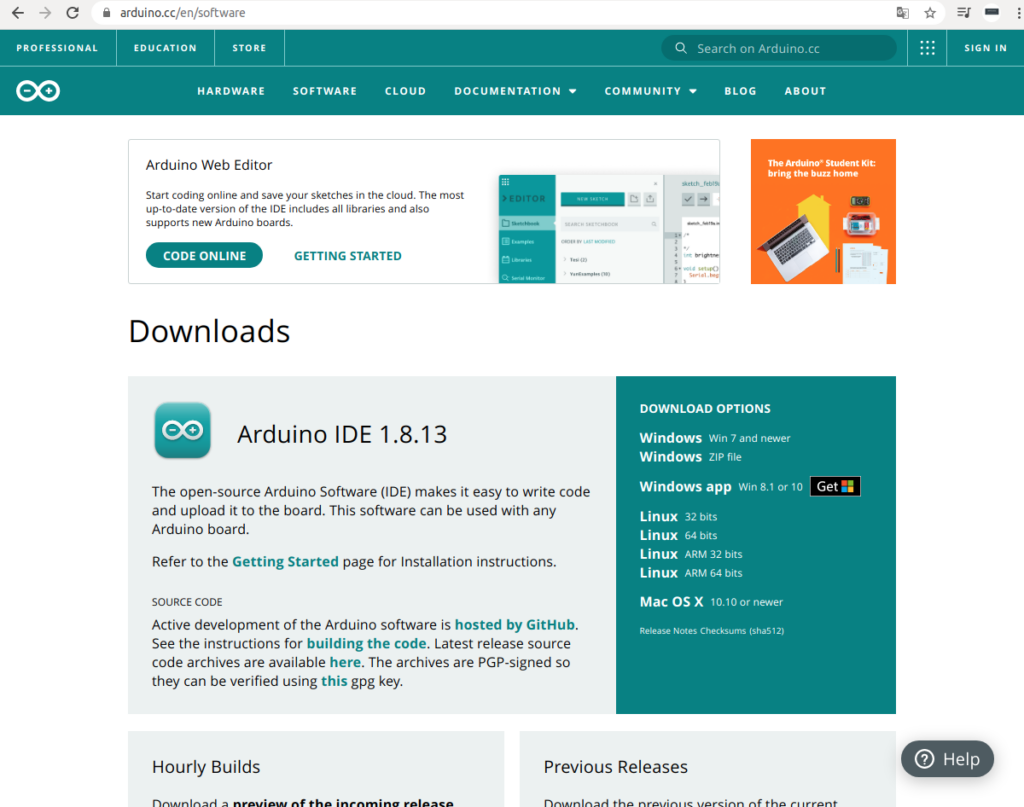
To install the firmware to the electronic components that we are using we will need an IDE (Integrated Development Environment). Arduino has its own. You can download it from https://www.arduino.cc/en/software. Download the latest version for your operating system from this web page and install it on your operating system.

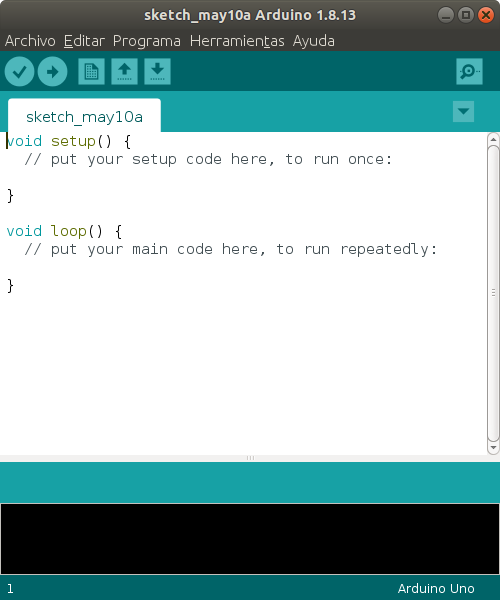
Once downloaded and installed, run the program (Arduino IDE) and an empty script like the following one will appear:

The next step is to download the firmware for the robotic arm that you can find on this web page (Github): https://github.com/ftobler/robotArm/
Remember that the robot software and the STL files of the robotic arm have a Creative Commons CC BY-NC license, so you must always indicate the author if you are going to disseminate your work and,of course, the license does not allow you to obtain economic benefit from the objects or software.
In the Arduino/robotArm folder of the software you will find the main project file called RobotArm.ino. Run it and you can load the project into the Arduino IDE.
In principle, if you are not going to use the robot for anything other than what it is designed for, you should not make any modifications to the firmware, but if you need it to be part of a larger project, it will be necessary to modify the firmware. For this we are going to make a brief description of all the files and classes used in C ++.

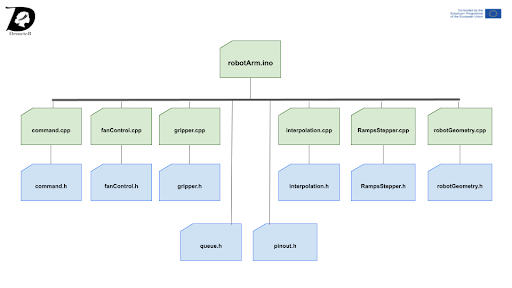
In the previous figure you can see a class scheme of the software with which we are going to work. The system is simple. The robotic arm will receive commands via serial and to process the commands it receives, it uses the classes located in the command.cpp file. All commands are being pushed into a typical C ++ queue that supports push() and pop() commands. If you have notions of programming and have studied queues, the code for this is not something difficult to understand. All the information and classes of the queue are in queue.h.
fanControl.cpp and .h will be used to control the fan as the name suggests. It allows you to indicate the pin where the fan is controlled and enable and disable it. We have placed it directly into the stream in our design, so we will make little use of this code.
gripper.h and cpp are used to control the arm gripper (open and close). In our project they will not be used but if you need to grab objects you will use this code to give instructions to the gripper servo.
interpolation.cpp and .h are necessary for the robot to interpolate and place the arm at the correct coordinates.
robotGeometry.cpp and .h are required to calculate the geometry of the robot. The most complex function is calculateGrad () which uses functions such as square roots, sine and cosine functions to calculate the degrees and direction of the arm in rotation. It is certainly the most difficult code to understand.

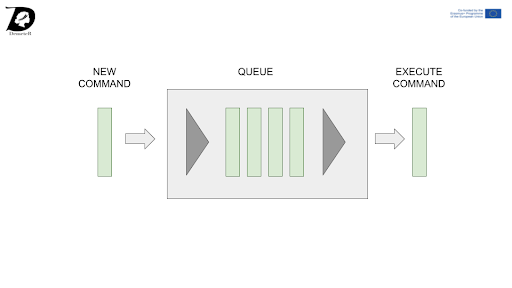
As previously explained, the robot will receive G-Code commands via serial and will add them to a queue. When the robot needs to execute an instruction it will check if there are instructions in the queue and if it is positive it will take out and execute the oldest one.
If you want to add new commands to the robot, the right place for it is the function void executeCommand(Cmd)
