-
1 Introduction
-
2 Theoretical concepts
-
3 The printing process
-
4 Arm assembly and electronics
Problem resolution & printer settings
Adjusting the printer mechanics and adjusting the printer settings
One of the skills students have to learn is problem solving by adjusting the printer. In REP-RAP type printers (prusa and derivatives) and low cost printers, the adjustment has to be continuous. In other more sophisticated printers, they themselves do an auto-adjustment which allows the user greater productivity.
 |
 |
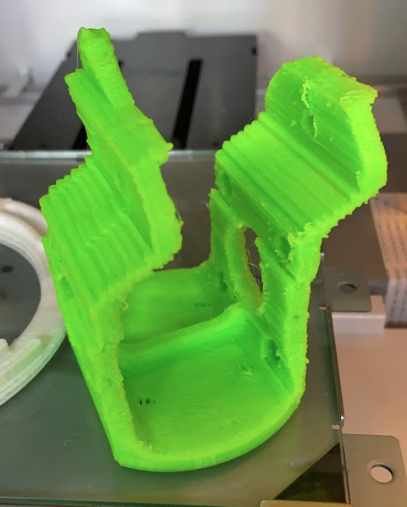
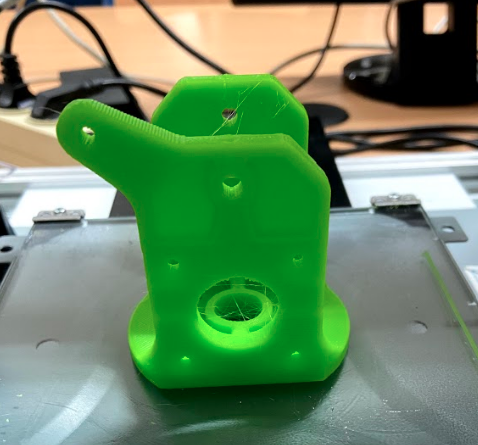
In our case we can see the two images that we obtained, the first one is the impression of a piece with a mismatch in the Y axis. And the second, the same piece once the belt of the Y axis has been adjusted.
Troubleshooting helps the technician better understand how to calibrate the printer and how it works. There are times when you learn more from failures than when everything works properly.
It is also important to know how to do the filament change, how to safely remove the filament and insert it for optimal printing.
What to do when the object is bigger than the bed
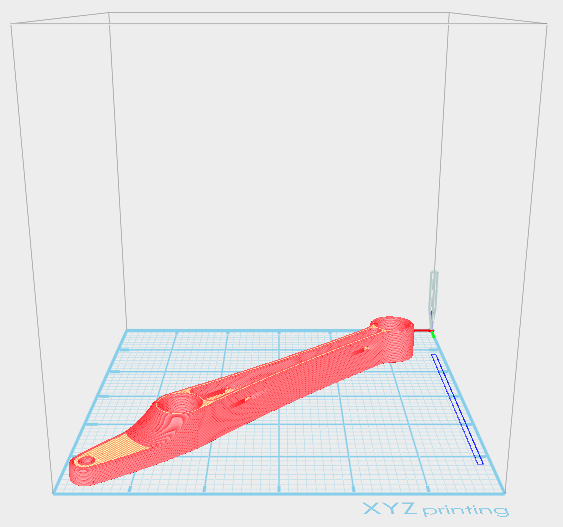
When the object is very large there are several options. The first and easiest is to decrease its size. In this simple way the object can be adjusted to the bed.
Another option is rotation in the Z axis. Rotating the object in the Z axis is usually the solution for some objects that do not fit correctly on the bed in the home position but rotating it 45 degrees (more or less) can fit in the printing space.

How can the student’s work be evaluated?
By evaluating the work done
