-
1 Introduction
-
2 Theoretical concepts
-
3 The printing process
-
4 Arm assembly and electronics
Arm assembly
One of the reasons why we have chosen this arm is because the author has taken great care of the material that he distributes including several STP files which can be opened by a CAD program and you can clearly see how the arm has to be assembled.
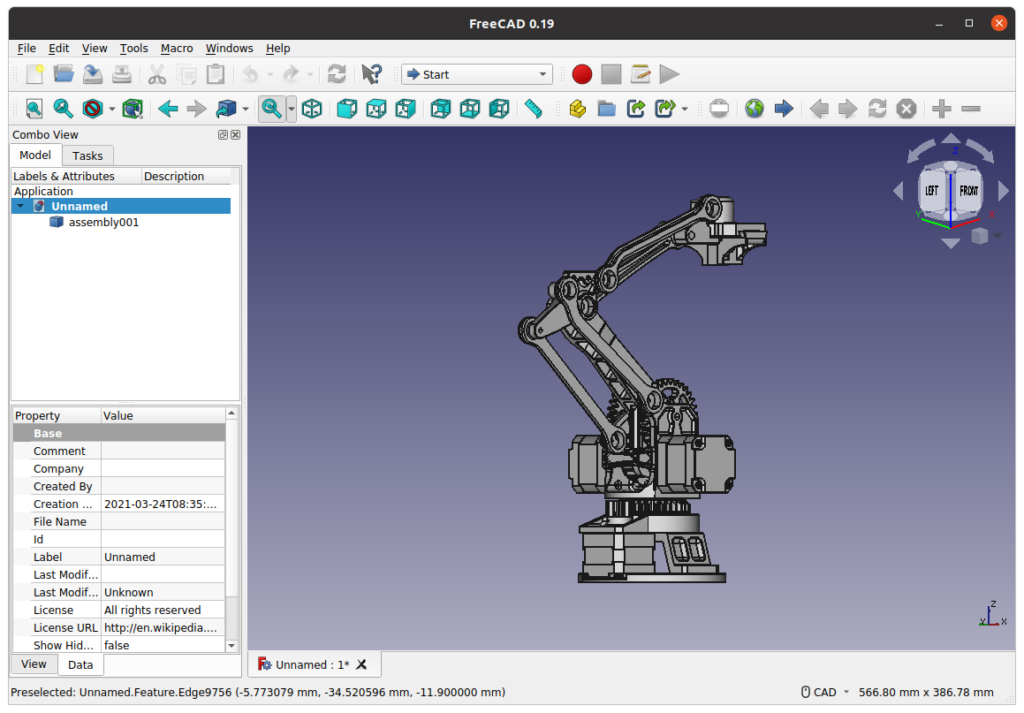
For this, an investigation has been made of which will be the simplest and most suitable program for the group. Finally we have chosen Freecad and gcad3d for Ubuntu. Two free open-source tools that will meet the needs we have.
Freecad and gcad3d
For the assembly of the arm, the project has an STP file which allows it to be opened with a 3D modeling program. Given that in class we use the Ubuntu Linux system, we have chosen Freecad and gcad3d which are a more than adequate tools to visualize 3D projects through different perspectives and to be able to get an idea of the assembly sequence and the relative position of each of the pieces.
View of the same STP file with gcad3d
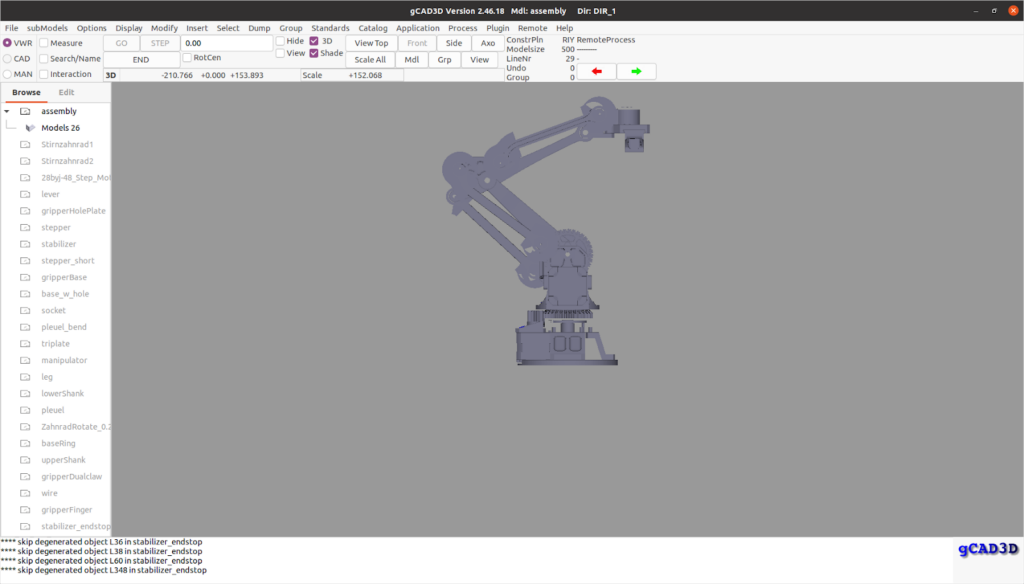
The advantage of gcad3d is the ability to display all the pieces together and highlight an individual piece as well as its name.
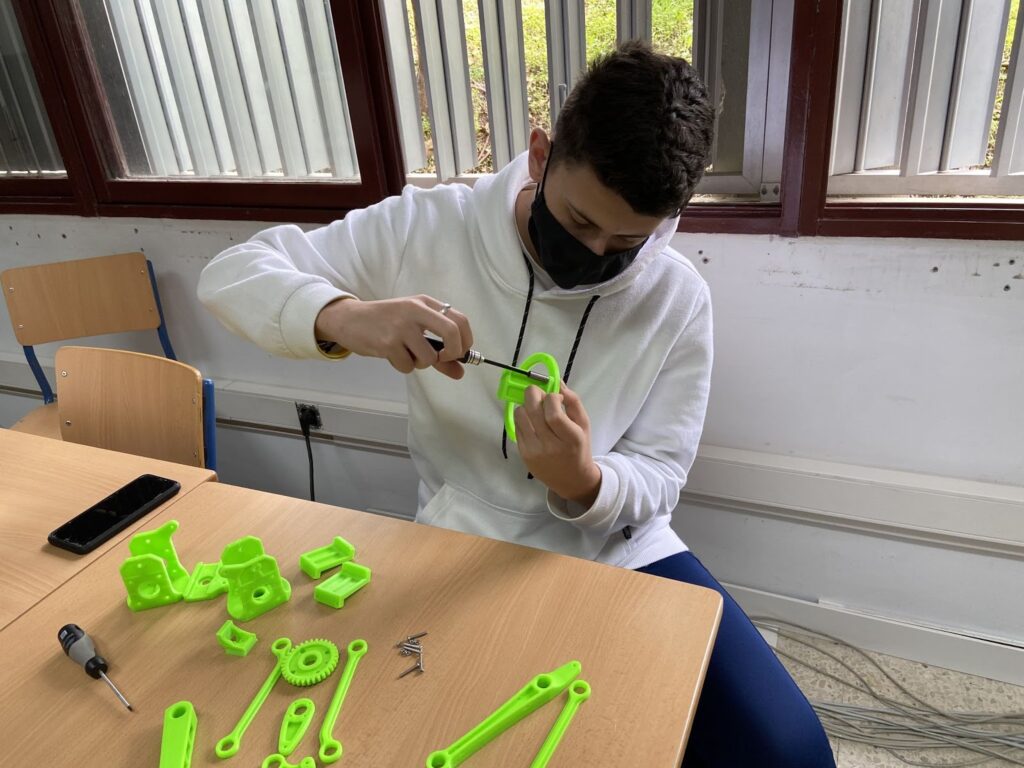
After analyzing how to assemble the robotic arm with the different programs, it is time to proceed to assemble it.
It is important to have the right tools, enough light, the right screws, nuts and washers, etc.
Assembly must be done safely and with enough time to finish properly.
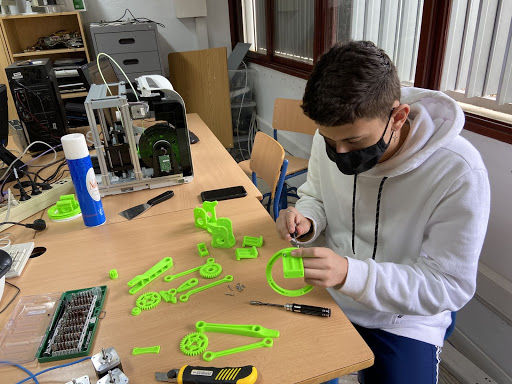
One of the most delicate parts of the assembly is the base. It is important that the base is correctly assembled because it will receive most of the weight and because they will be the parts that will have the most friction and tension.
Below is an image from the creator of the Florin Tobler arm showing the correct way to assemble the base.
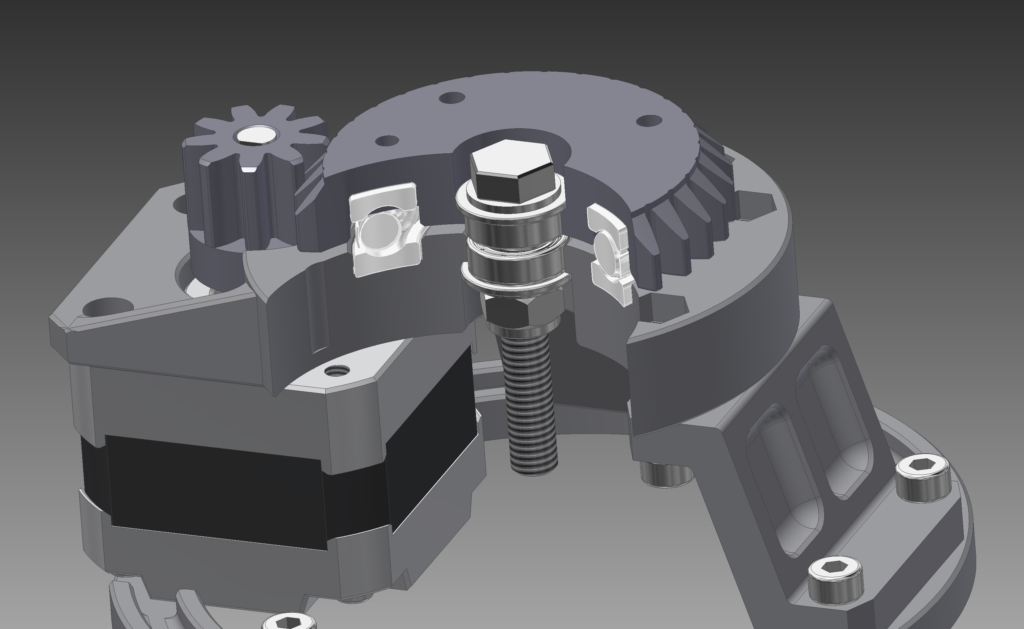
Below is a list of nuts and bolts recommended for mounting. This listing has been provided by the creator of the robotic arm Florin Tobler:
- 16x M3x6
- 21x M3x8 (3x used as set screws)
- 4x M3x10
- 2x M3 Washer (large for gripper)
- 4x M3 Nut
- 6x M4x10
- M4x16
- 2x M4x25
- 14x M4 Washer (small enough for Bearing)
- 8x M4 Nut
- 12x M6 Washer (small enough for Bearing)
- 3x M6 Nut
- 3x M6 Self Locking Nut
- 3x M6x45
- 1x M6x80mm Threaded Rod
Below is a video made by the creator of the robotic arm that will help a lot to understand the assembly.
How can the student’s work be evaluated?
By evaluating the work done
